Introduction
Lets package up the PicoRV32. As I’m sure you know Vivado has a tool that allows you to package up HDL into “components” that can be added and connected up together on a canvas in order to build up a larger design. I wont go into the pro’s and cons of this design methodology here. I recently wanted to experiment with RISC-V and the Spartan S7 mini with HyperRAM and found that fastest way to progress with my particular interests at the time was by utilizing Vivado’s IP Integrator.
Download
You can skip all this drama and just download the completed PicoRV32 IP from GitHub HERE.
Prerequisites
Head over to GitHub and download the repository containing the file we need, “picorv32.v”. You also need an installation of Vivado naturally.
Process to Package PicoRV32 IP
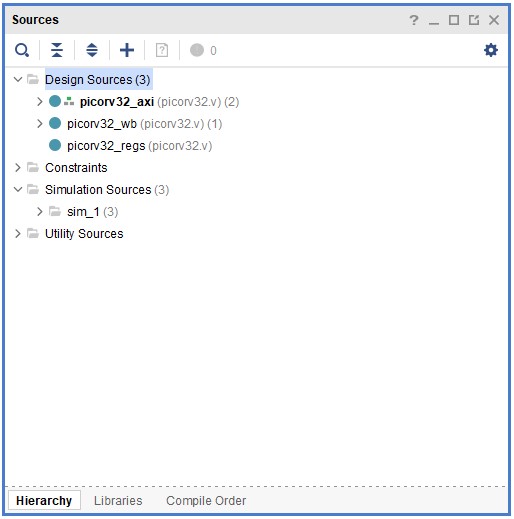
Start a new project in Vivado, I selected the XC7S50CSGA324-1 part as this is what is on my arty S7 dev board. Add the picorv32.v file as the single source file. There is no need to add a constraints file to the project. You should have a sources window that looks like the one on the right.
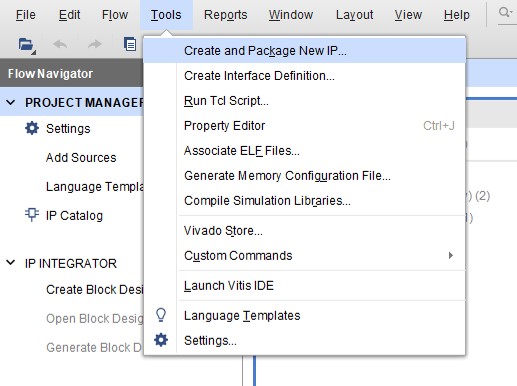
Go to Tools -> Create and Package New IP
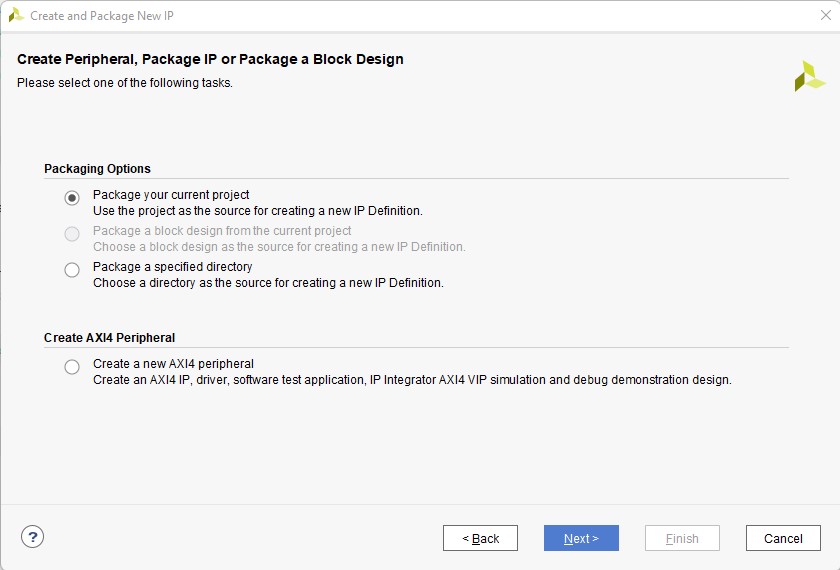
Hit “Next” on the first dialog option, then select “Package your current project” on the second dialog
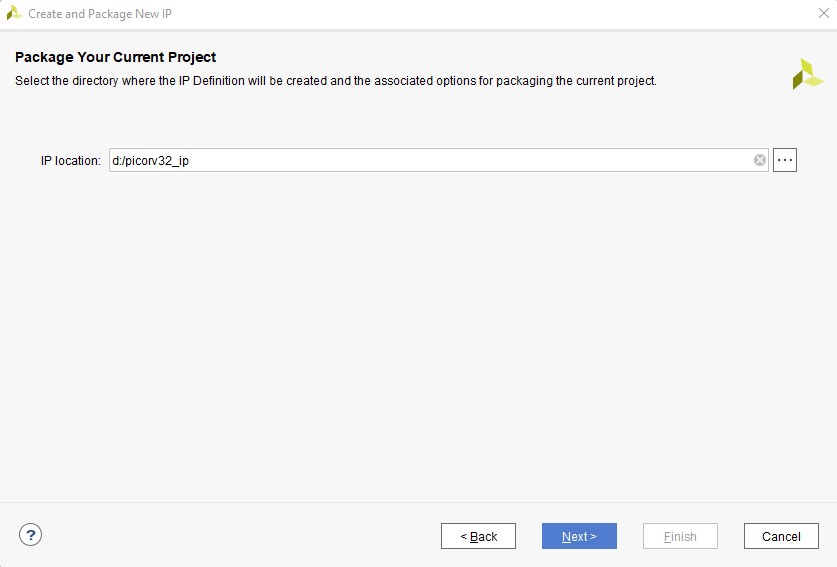
In the next dialog box pick a location you want to save the IP to and hit “next”, you will be prompted with “The project source files will be copied to the indicated IP Location directory and an editing project will be opened. Would you like to continue and copy?”, select OK and then Finish.
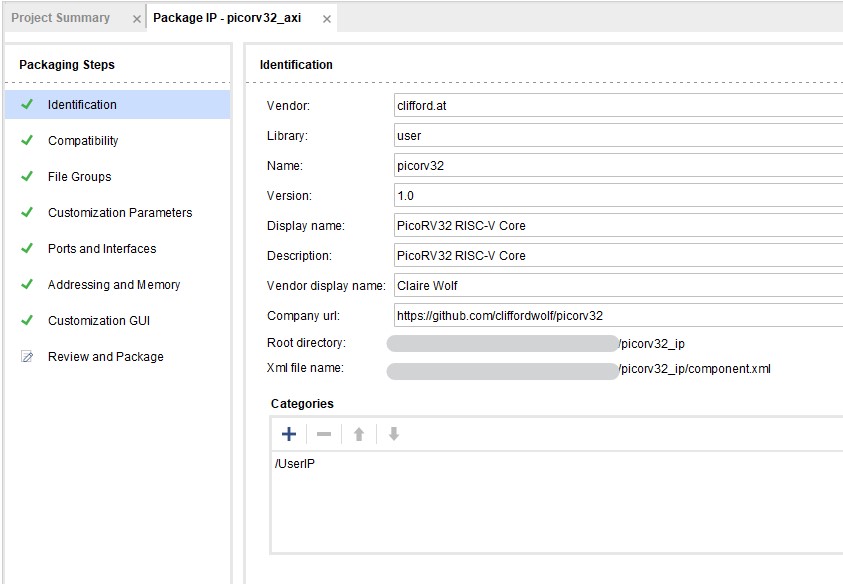
Identification tab
Vivado will automatically open up a new instance and present you with the options to the right. The first tab is “Identification”. You can fill in whatever details you wish here, personally I tried my best to represent complete the relevant fields with accurate and up to date information.
Compatibility tab
I left everything at their default values in the “Compatibility” tab.

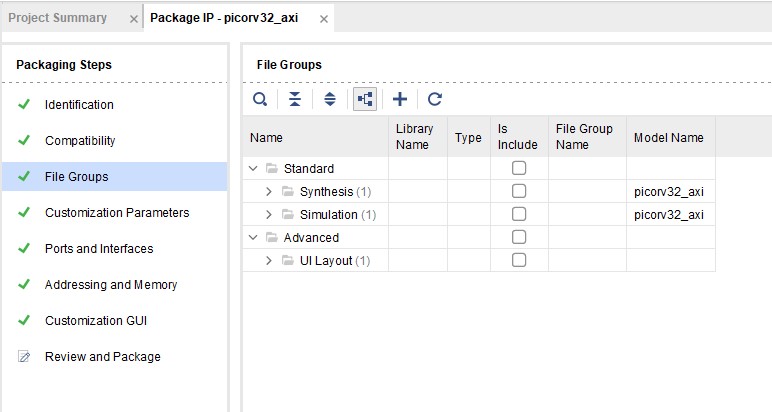
File Groups tab
I left everything at their default values in the “File Groups” tab as well.
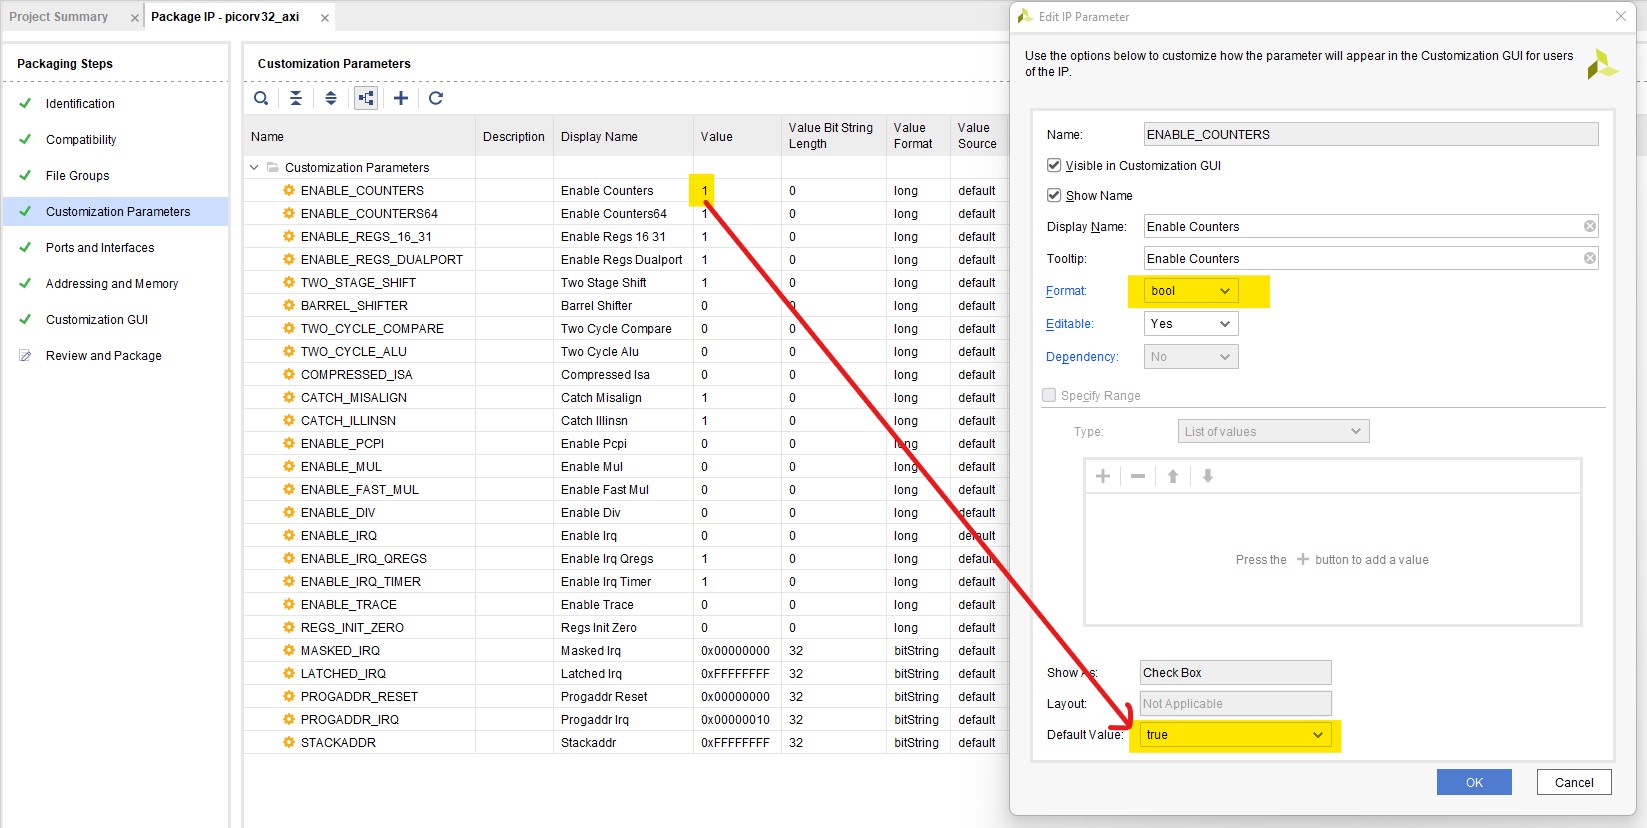
Customization Parameters tab
In the customization parameters, double-click on the first entry “ENABLE_COUNTERS” to open the dialog box. Change the value in the “Format” drop down list to bool and ensure the default value at the bottom of the page corresponds to what the “value” is on the “customization parameters” tab is, ie. (1 = true, 0 = false). See image to the right, click to enlarge it. Now repeat this for all the entries except the last five entries which are “bitString” values.
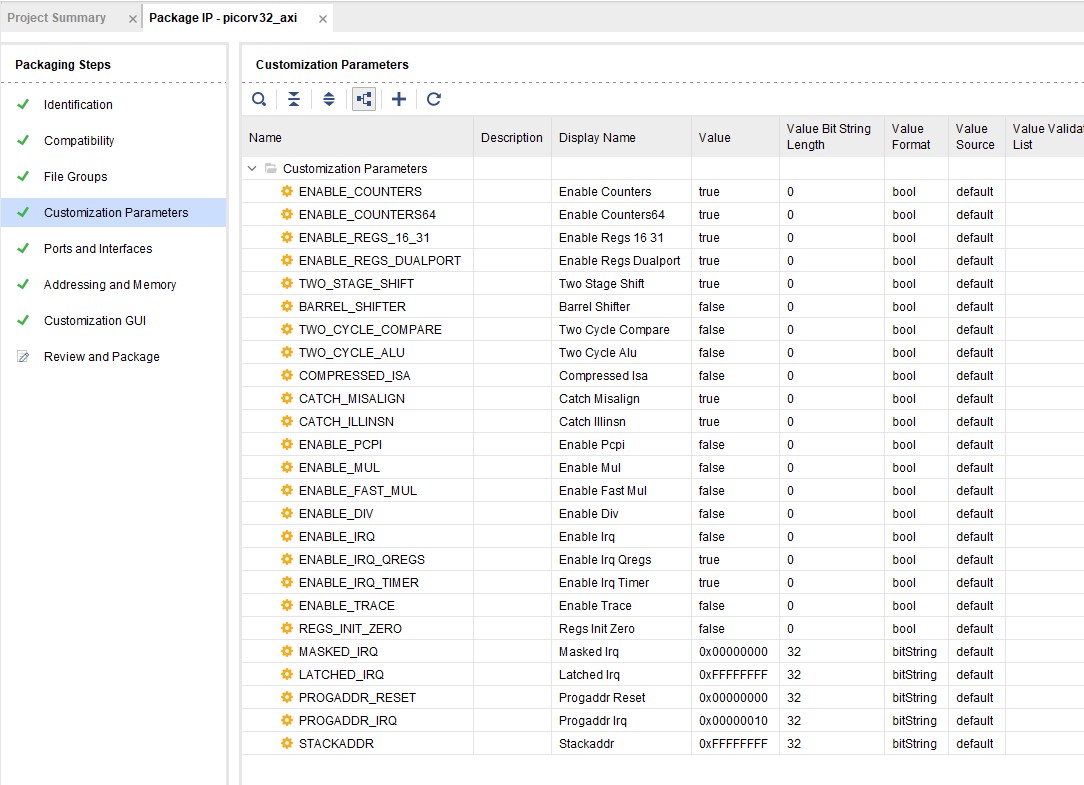
This is what the end result should look like. We jump through this hoop in order to get nice tick-boxes to customize the IP when we use it in the Integrator.
Ports and Interfaces tab
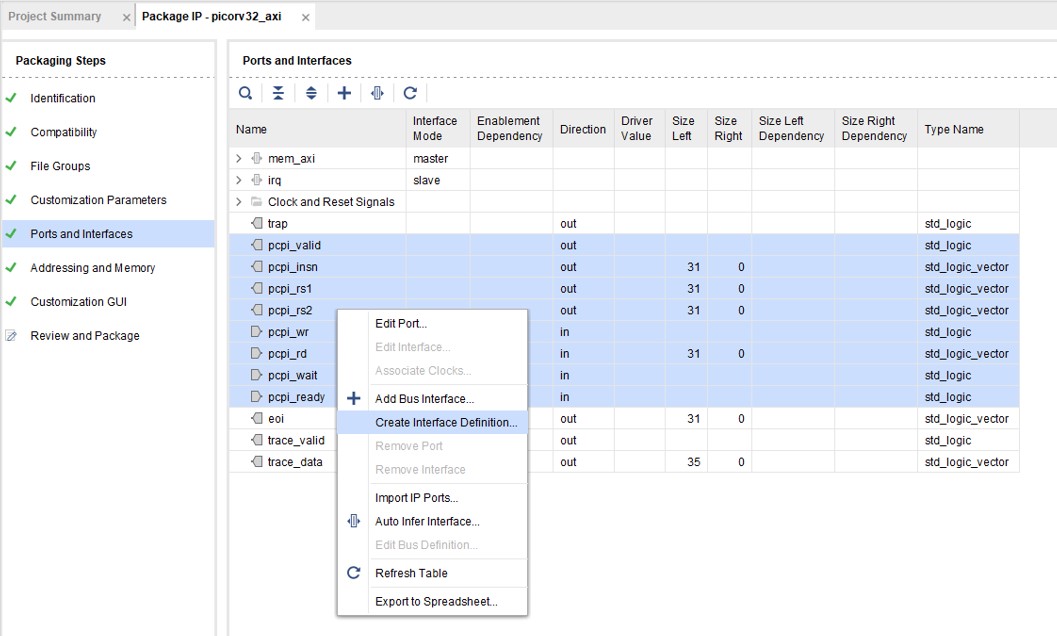
First we have to manually create the “PCPI” interface definition that comes with the PicoRV32. Select all the ports that start with “PCPI”, right click and select “Create Interface Definition”
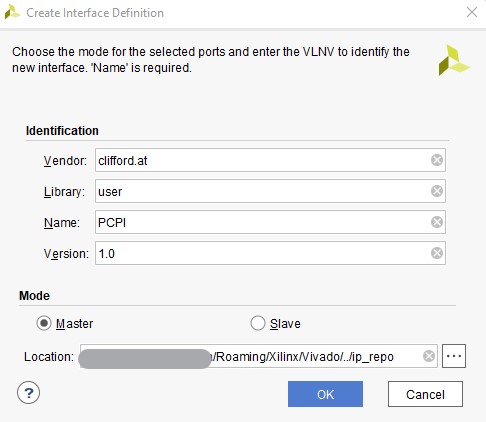
Add appropriate values to the fields in the subsequent dialog box.
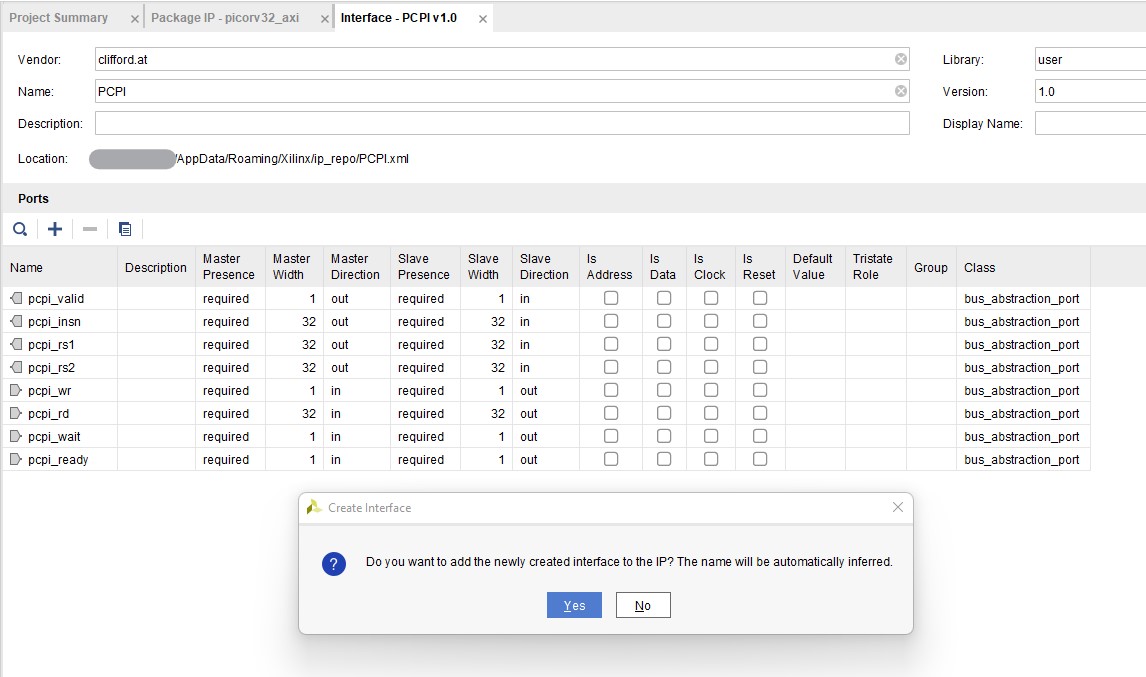
Select “Yes” on the next page dialog and that’s it. All the PCPI signals will be added to the newly created PCPI interface.
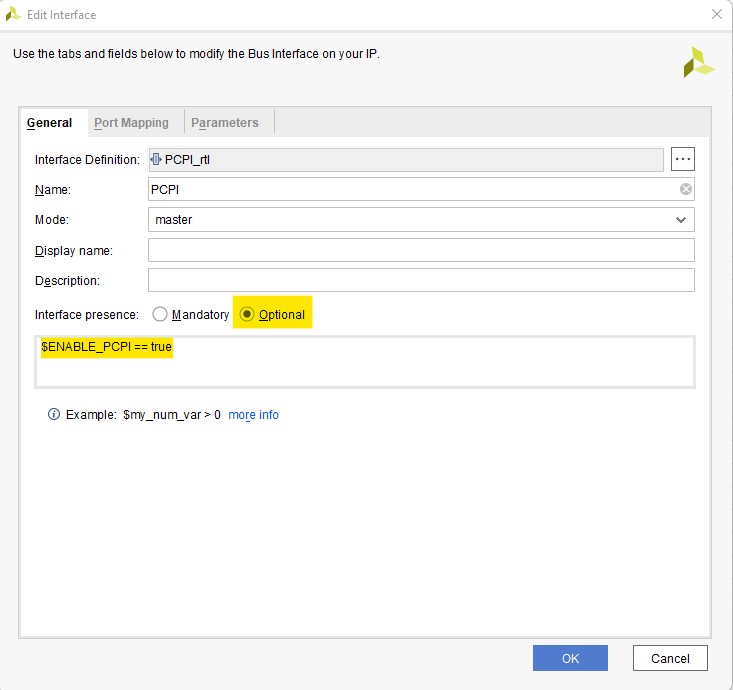
Double-click on the PCPI interface and select the “Optional” radio button, add the following conditional statement into the text box, “$ENABLE_PCPI == true”.
This will ensure that this port is “hidden” when it is not enabled while using the IP integrator.
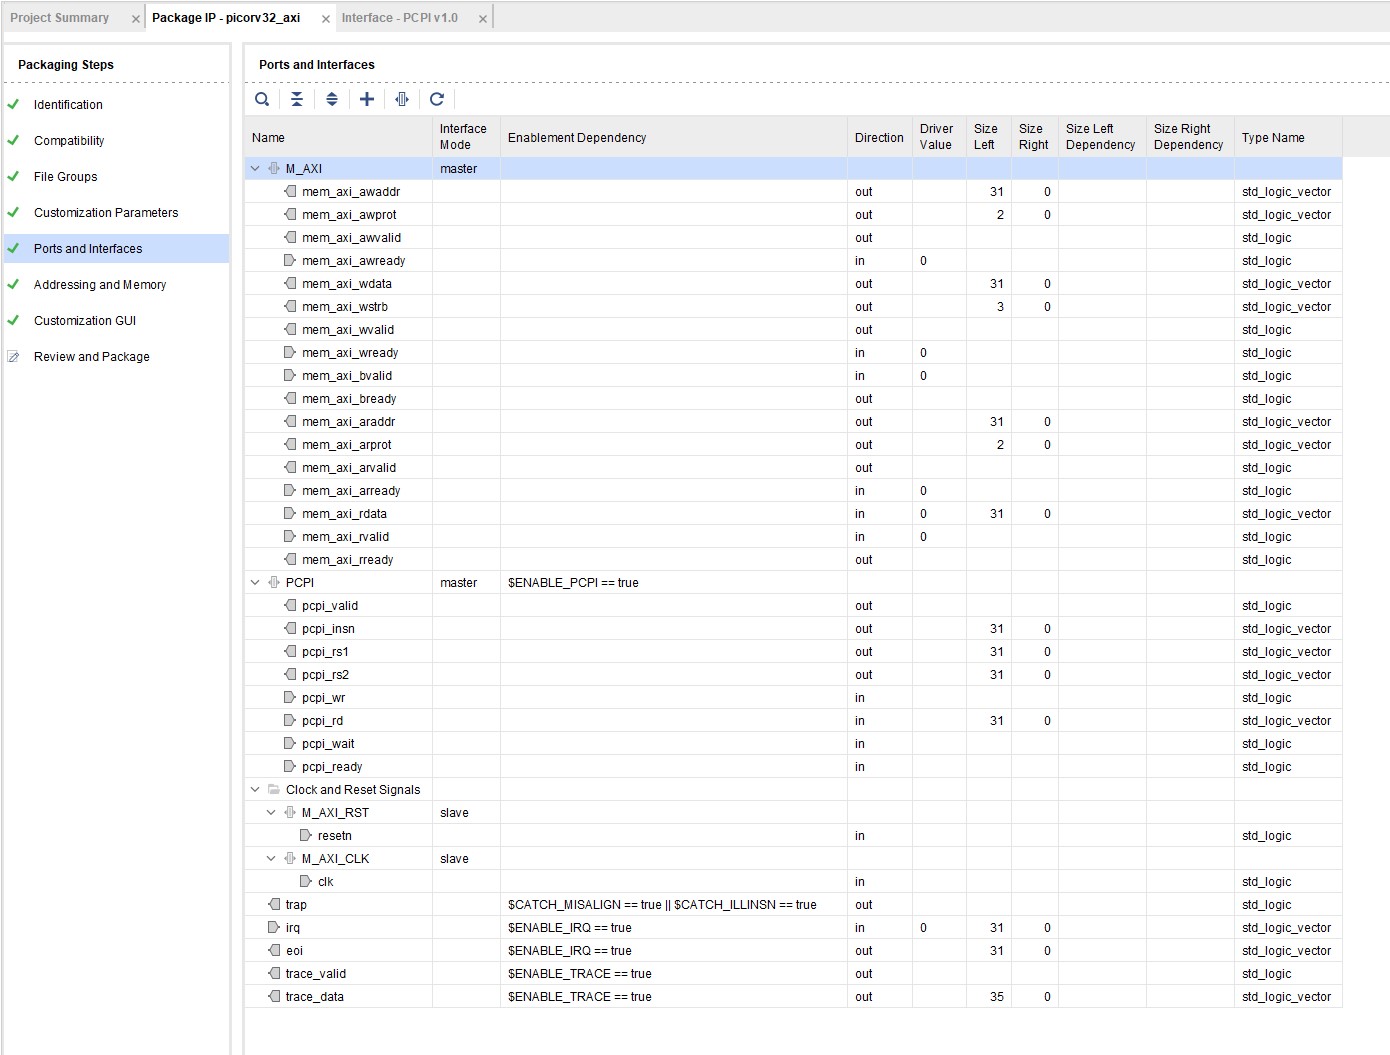
No do this for the “irq” and “trace” ports as well as shown in the figure to the right. You may have to right-click then remove the “IRQ” interface if Vivado automatically added the “irq” port to it.

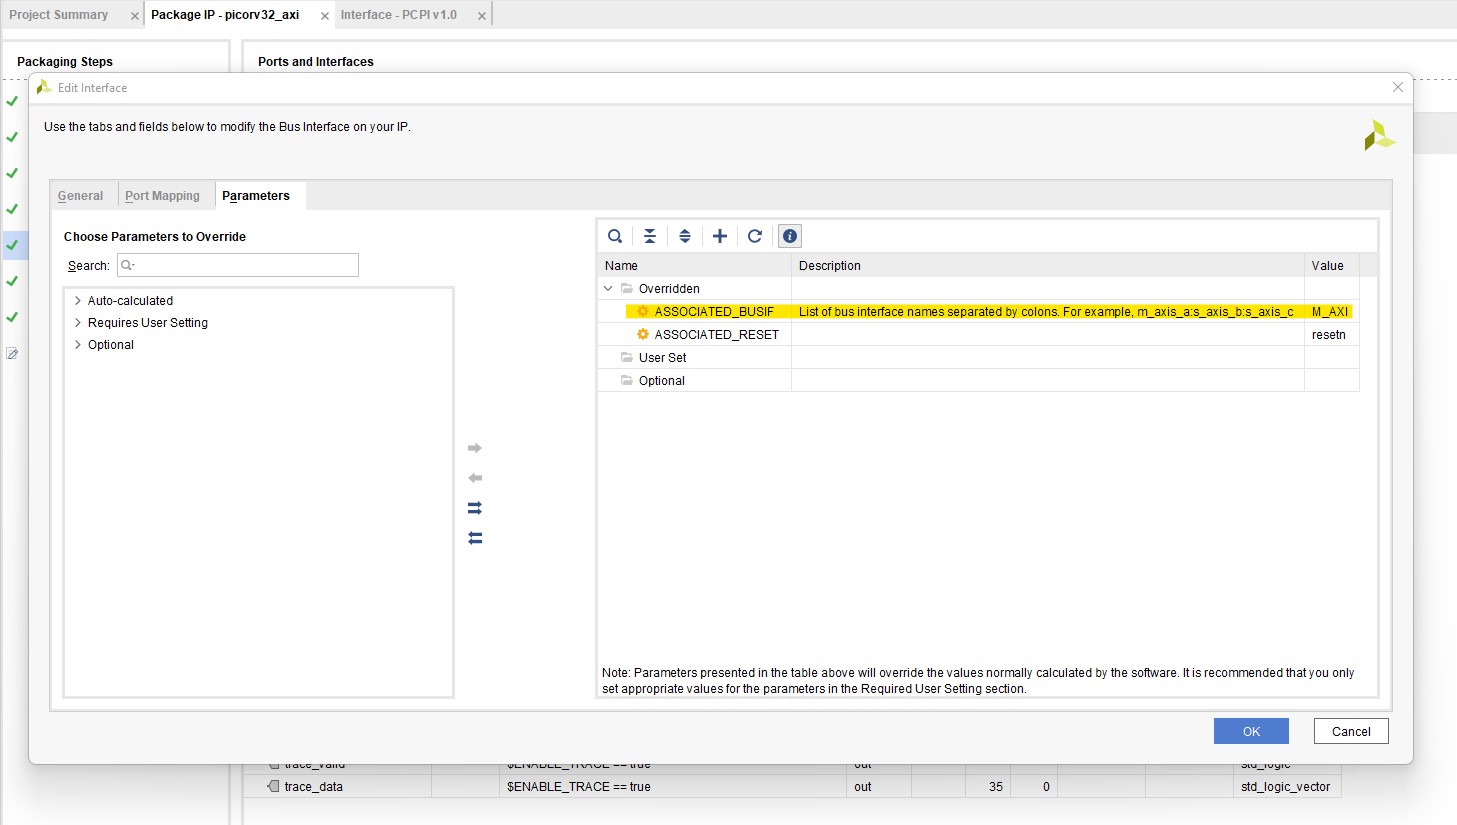
I renamed the interfaces for consistency, you may do so as well or leave them at their default values. If you change the clock signal interface name an error might appear about an associated clock that’s missing. Double click the “M_AXI_CLK” interface, go the parameters tab, make sure the “ASSOCIATED_BUSIF” parameter is set to the same name as the AXI interface “M_AXI” in my case.
Here is an overview of the ports screen.
Addressing and Memory tab
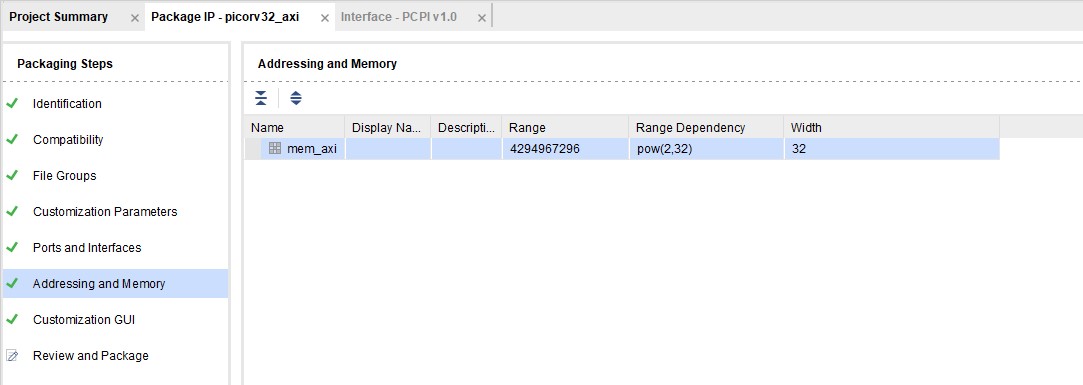
In this tab you may add the expression “pow(2,32)” to the “Range Dependency” column. However the default value of “4294967296” for the range is accurate.
Customization GUI tab
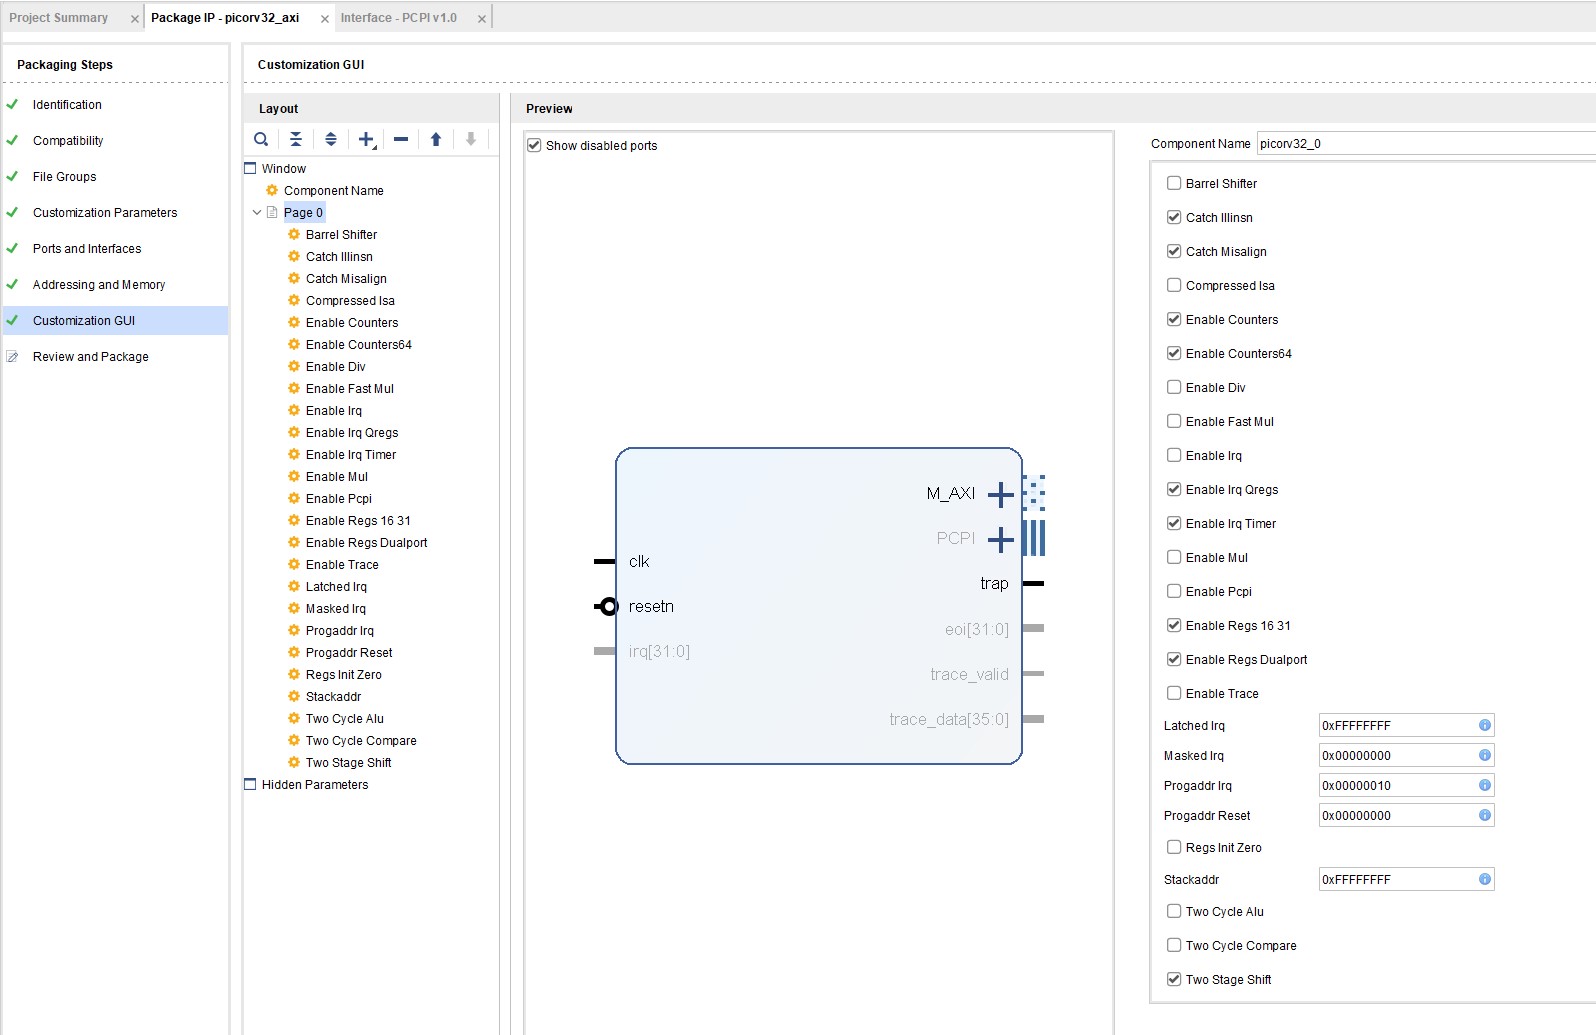
Nothing to change here. Picture shows overview of options.
Review and Package tab
Finally hit “Package IP” on the final tab and you now have a PicoRV32 IP ready to use in the IP Integrator.

